Category : The Learning Center
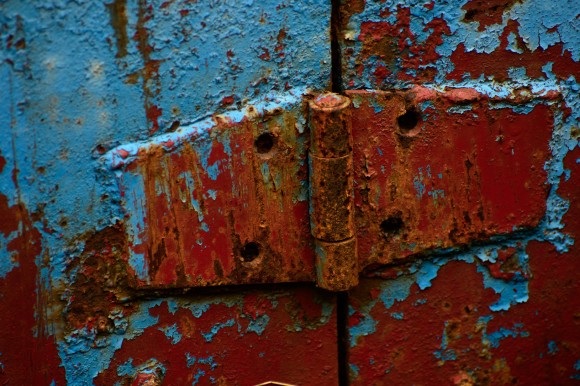
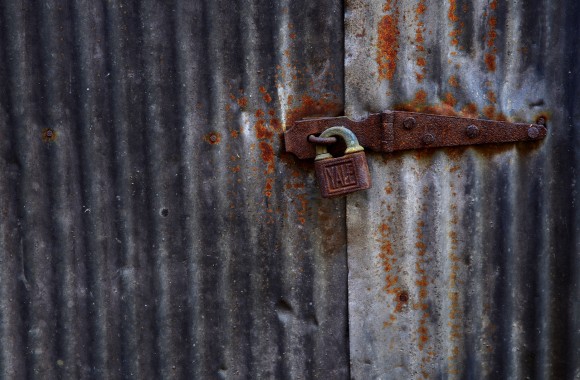
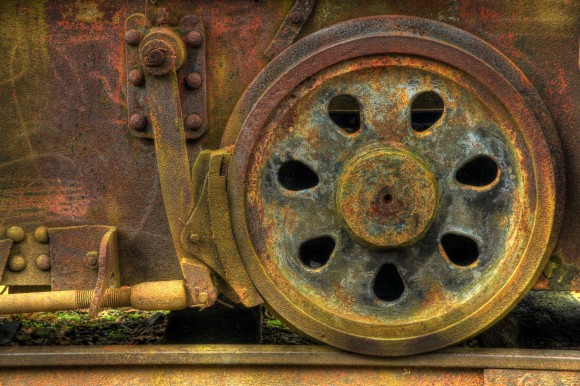
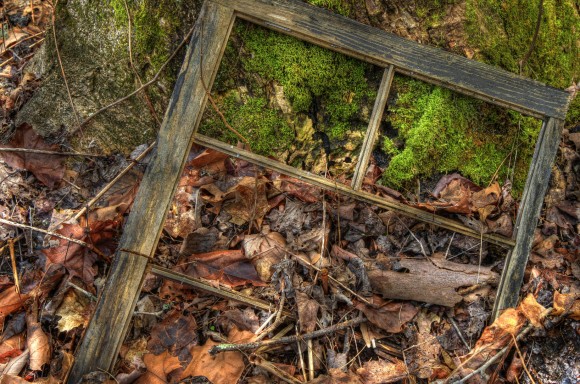
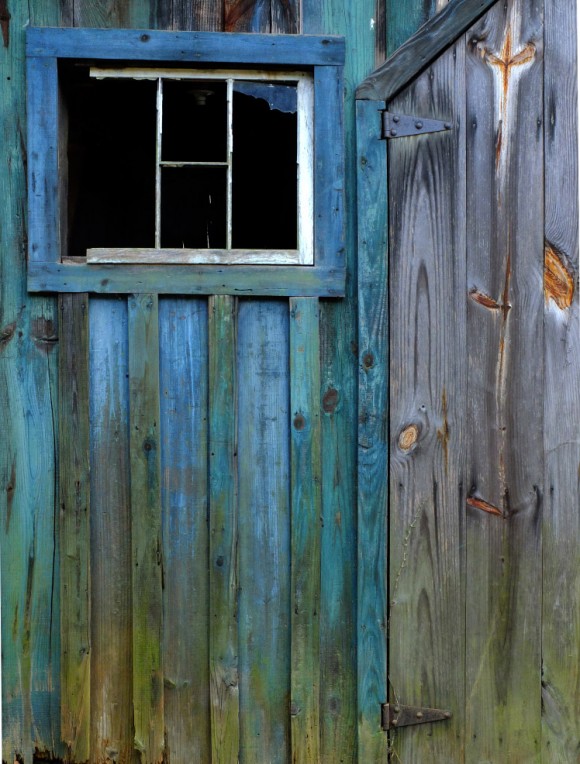
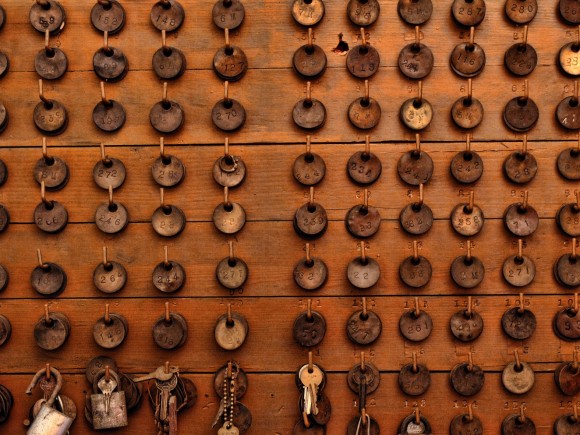
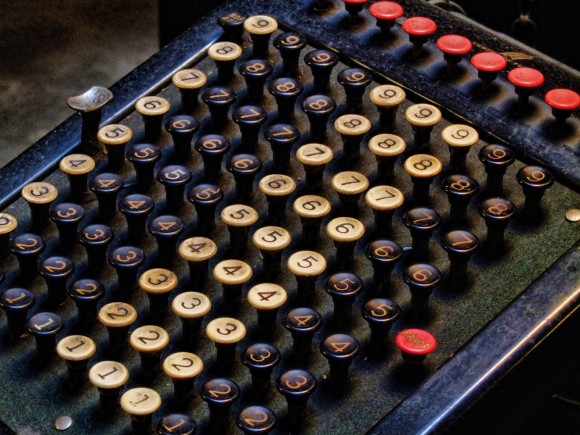
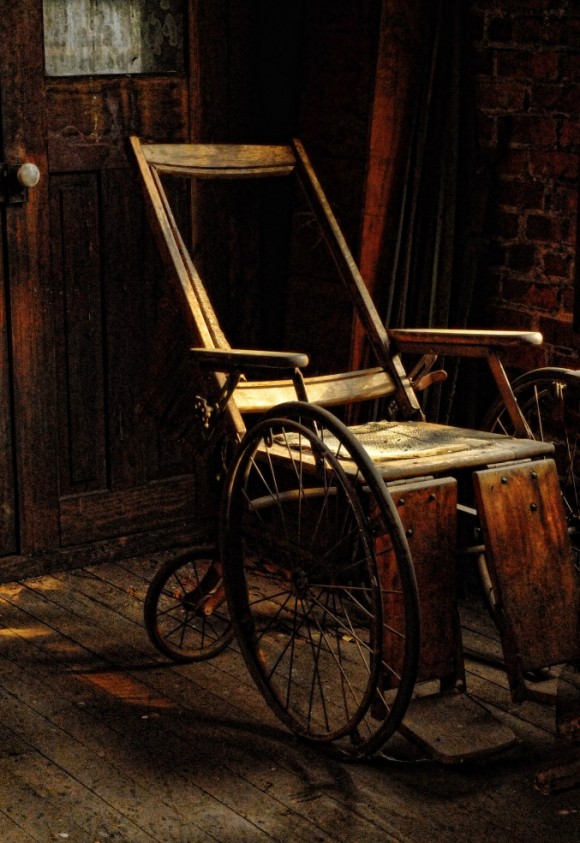
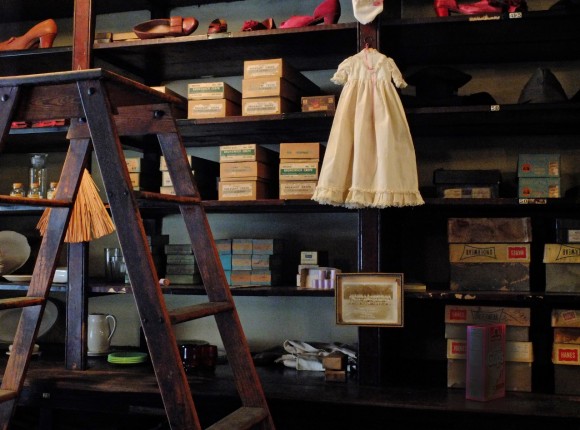
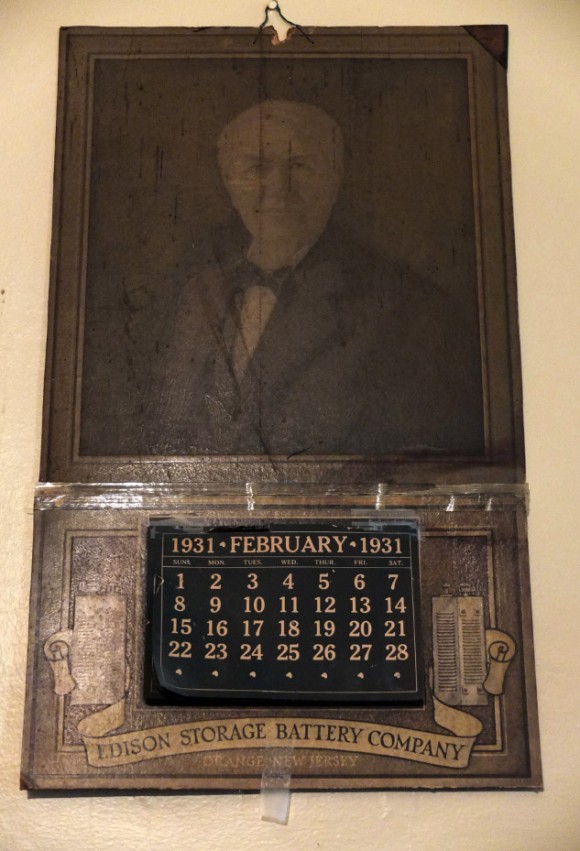
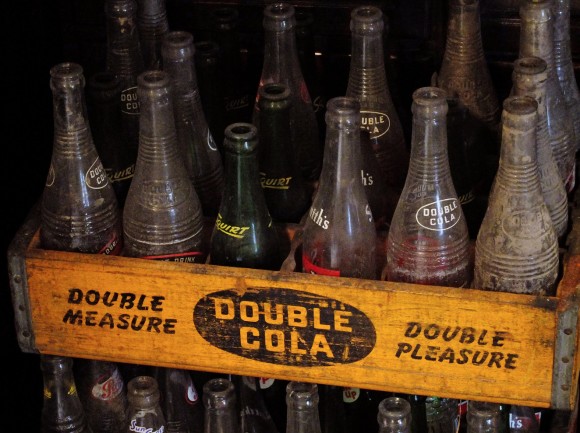
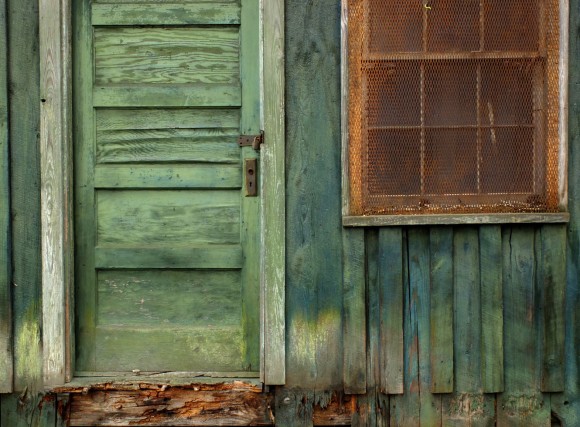
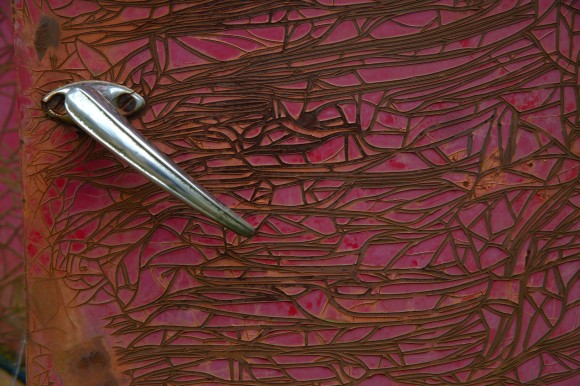
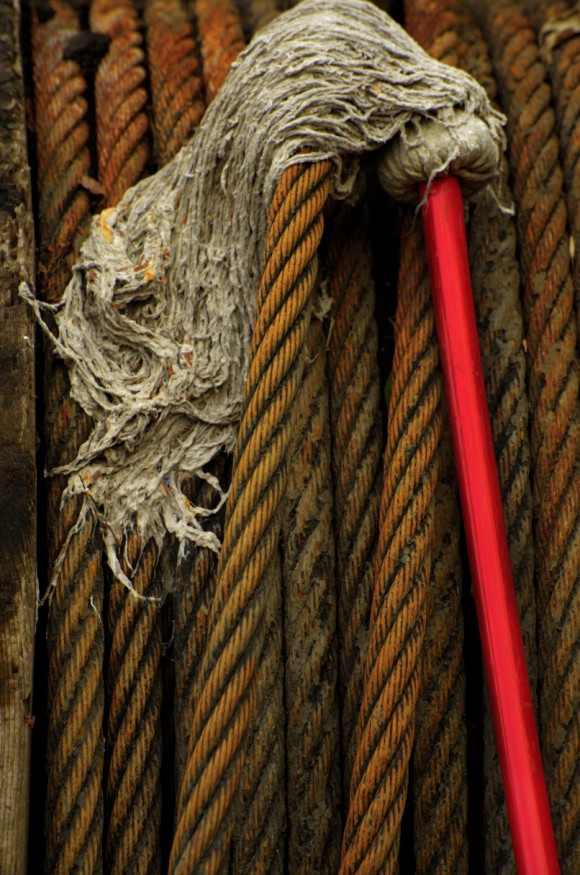
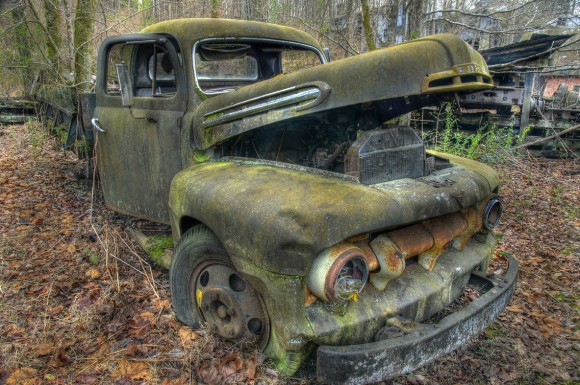
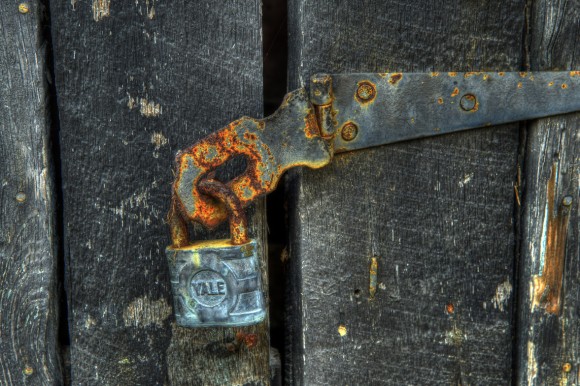
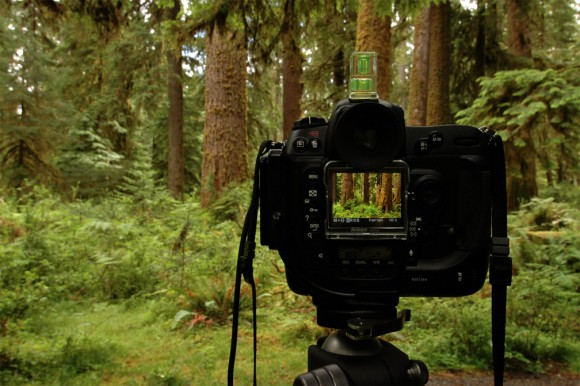
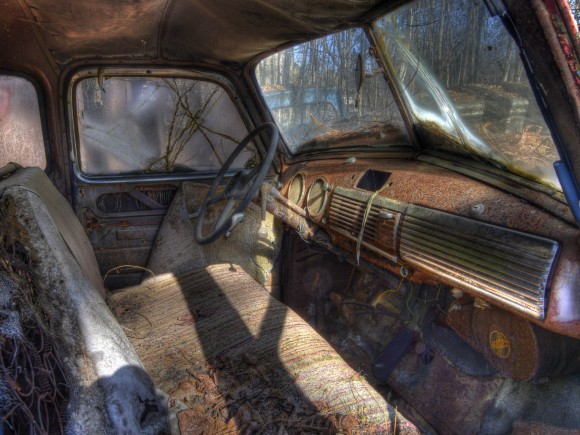
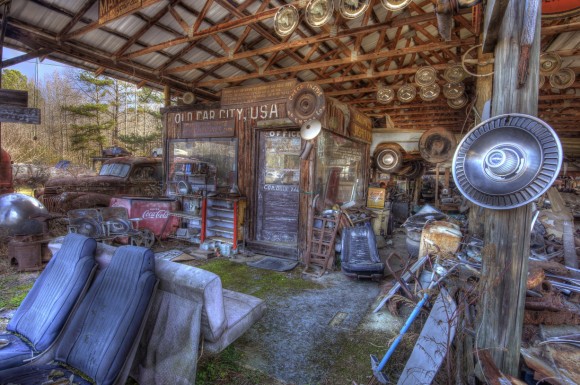
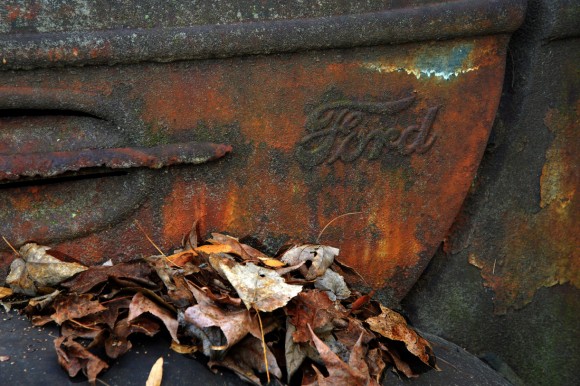
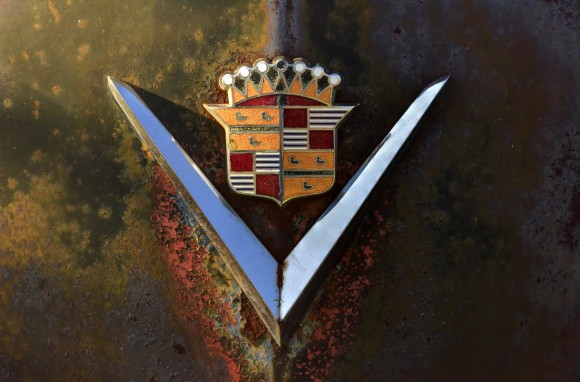
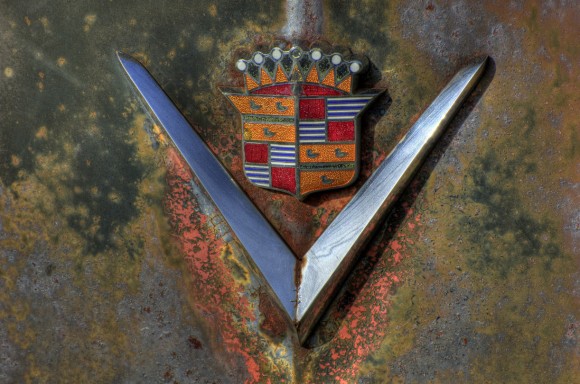
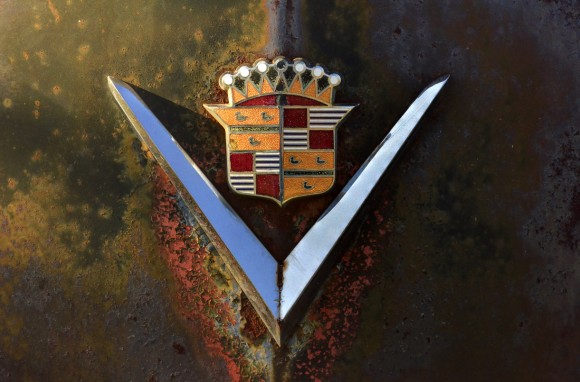
One of the principles of composition that I love to teach is extraction, the pulling of details out from the entire scene. I was fortunate to travel up to Harlan, Kentucky yesterday to shoot some at an coal company property. There is wealth of color and detail images. I used a FX sensor DSLR with a 24-120 and a point and shoot for most of these images, bet you can’t guess which are which!? Think about what a small area some of the images are and imagine pulling details out of the overall scene! Some are straight shots, some HDR & some Topaz Digital filters.
These are chits, in the early days of mining each miner would take a number brass disk in the mines with him each day, when he came out of the mines at night he would replace it on the board, it was how they knew who was out of the mines and who was still inside.
My good friend David Middleton, a great teacher in the photography field once said, “If done properly, a photographer will spend 90% of their time looking for great subjects in great light, and 10% of their time shooting!” I agree! I hope these images give you food for thought as you explore with your photographic eyes!
the pilgrim
PS: A big thanks to Homer and Terri for getting us in to the property!
This post has 3 comments. Click here to read them
This entry was posted on Saturday, December 31st, 2011 at 1:56 pm
You can follow any responses to this entry through the RSS 2.0 feed.
Over the winter is a great time to sharpen you skills and get ready for spring shooting! All people that have skills must keep them sharp, singers practice, football players practice, golfers practice and photographers must too! Now the fun part of practicing as a photographers is a big part of your exercise is shooting more pictures, which is fun anyway, but it goes deeper than that, lets review some key components you must work on to stay sharp and on top of your game!
1. Getting Tack Sharp Images – This is a matter of practice and discipline! If you hand hold a lot, do this little practice sessions, get your children or grandchildren to sit int he floor in front of you while you sit on a chair or the couch, and practice “squeezing” of the shutter release. You should know your shutter release so well that they can’t tell the exact moment it will fire! The technique is simple, all shutter releases have something call creep, that is the short distance you can press down just before anythting happens, when you take up this first space, the next slight push will fire the shutter. If you hand hold very much you need to practice this skill until it is second nature to you. The kids will love the game and it will make you a lot more skilled at firing the shutter!
2. Tune up your focusing – All cameras that have autofocus “can” get out of register and give you slightly less than perfect focus. This is simple to check, find a good brick wall and pick a spot on the wall and focus on that point, Now carefully shoot and image. Pull the image into the computer and check it at 100% You will be able to tell immediately if t=your lens is focusing properly. If it is not, here are two solutions. Check you camera manual, many higher end cameras actually have a way in the menus to adjust focus! It’s not hard just follow the directions in your manual. If your camera does not offer that feature, you can send it into a authorized repair center for your camera’s brand and they can adjust focus back to factory specs. For closeups try shooting a newspapers newsprint!
3. Clean your cameras and lenses for the upcoming season – This is easy to do and only requires some simple tools. Get an old toothbrush (dry) and a camels hair brush, which you can pick up at any arts and crafts store or Walmart. You will also need some lens cleaning supplies, for years I used actual lens cleaner solution and lens cleaning paper from Kodak, I now use the little foil pouched lens cleaners from Zeiss. You can buy them at the eye care department at Walmart and they are great for wet cleaning of lenses, eye pieces and LCD panels, they also work great for your glasses, iPhone and iPad! They come in a blue box and are called Zeiss Lens CLeaning Wipes – Pre Moistened. they simply have alcohol which dislodges any smudges and dries fast. The proper way to clean a lens surface, and remember they have two a front element and a rear element, is to use a blower bulb (or baby ear syringe) to blow any dust or grit off the lens first, then apply the wipe to wet clean the lens. Use the toothbrush to get into small crevices around the outside of your camera and get all dust and grit out. You can use the camels hair brush to overall clean the camera. DON’T ATTEMT TO CLEAN THE MIRROR!!!! Only use the blower to blow any dust our o the mirror box, cleaning of mirrors is a task best left to a trained camera technician!
4. Test the accuracy of your meter – The winter is a good time to set up a test subject and see if your meter is spot on! Once again just set up a subject, and make sure you have the correct white balance setting then shoot some images and see if all the tones look good, your histogram will be a good way to see if tones are falling where they should. Some cameras will let you make adjustment to your meter, other need to be seen by a technician. I’m often asked if the expensive heavy duty pro cameras are worth the money, this is one way they are, they allow all these adjust ments like focus, and metering right in the menus!
5. Get your eyes ready to see photographically – Spend some time looking at great, well crafted images, good places to look are the countless websites of very good shooters, you might try some I feature on the Home page. You can also see some amazing work on 500pix.com
Study how these great shooters composed and set up their shots, you will get a lot of great ideas! I really like the work of Jim Begley, John Shaw, Tony Sweet, Christopher Burkett, Rod Planck, Mark Alberhasky, just to name a few! One last suggestion ,my latest Kelby Training class is coming soon, called Learning to See Photographically, I think it will help, as well!
6. Practice – Practice – Practice – The best way to get better is study the fundamentals at a Nikon School, or Kelby Training and then practice!!!!
Hope these tips help you get ready for an exciting shooting year in 2012!
the pilgrim
This post has 1 comments. Click here to read them
This entry was posted on Thursday, December 29th, 2011 at 4:29 pm
You can follow any responses to this entry through the RSS 2.0 feed.
I got another question over the Christmas weekend that I want to address and it requires a little more of an answer than the usual question! A person wrote and asked, “I have some money after Christmas to start to build a really good set of camera gear, any advice?”
I’d be happy to try and help, but I’m going to have to make some assumptions, which is always a chancy thing to do, but here goes:
Most photographers are what I call generalists, they photograph family, friends, they travel and make images, they often are interested in outdoor and nature work, they may do a little close-up work and may even, sometimes, photograph wildlife. Some like sports and photograph action as well. If this describes you, for the most part, you are a generalist.
To make a good variety of kinds of photographs you are going to need several things;
1. A camera body – most people find that Digital Single Lens Reflex (DSLR) type camera that takes interchangeable lenses works best. if you are very serious about your work and travel a great deal, a second camera body or high quality compact camera is very good idea, just incase you have a problem with your main camera. Which model you buy will depend on your requirements, how hard you will use the camera and under what conditions. Do you shoot a lot in very low light? Do you need a motor drive that shoots at very high rates like 9 fps (frames per second)? Answering these questions will help you figure out which will be the best main camera body for you.
2. Lenses – it doesn’t make much sense to own a DSLR and only have one lens! For most people you need lenses to do three things, work in situation where you can take in a very wide angle of vgiew (wide angle zoom). I own two a 16-35 for my FX sensor body (sensor the size of a 35 mm frame), and a 12-24 for my camera with a DX . Next I own a 24-120/24-120 and 35-70 midrange zoom lenses. On the long end I own a number of lenses but use the 70-300 AFs VR / 70-300 AFs VR the most. When carrying just three lenses (the ones in blue for FX and yellow for DX) I have a good unbroken range of focal length 16-300 for FX and 18-450 for DX (remember with DX bodies you multiply 1.5 time the lenses actual focal length so a 100mm will make images with the angle of view of a 150mm lens.)
3. Close-up lenses or devices – I own several Micro lenses (Nikon’s name for a Macro lens) the 200mm, 105mm, the 60mm, and a 85mm Micro for the DX cameras. I also use Diopters (screw in close-up filters with two elements) and automatic extension tubes. for most people, unless they are really into close-ups) you don’t need that much, a 1l05 Micro or some diopters will do fine for you.
4. Important Accessories – I wouldn’t think of going out to shoot without a good solid tripod, ball head and a cable release. Nature close-ups and studio work I use a Kirk low pod. I also have Kirk or Really Right Stuff plates on all my camera bodies and lenses that have tripod feet. I also keep a high quality polarizer on all my working lenses.
5. Compact Travel point and shoot type camera – I’m never without a P300, P7100 or similar high quality point and shoot for when I just don’t want to carry the bigger DSLR and lenses.
So what is this going to cost me?
The complete FX system described with a D700 body will run about $8,000. (this includes the tripod and filters and a Micro lens) Substitute the D700 with a D3s and raise that price by around $3,000.
The complete DX system described with a D7000 body will run around $6,500.
A number of extremely capable compact point and shoot cameras are available for form $350. to $900.
Yes we are talking about serious money, but e are also talking about very high end, long term investments and the capability of making high end professional quality images! Can you do this for less? Yes, but remember you get what you pay for!
Hope that helps,
the pilgrim
I had a good question come in after this article posted. “Can you give a photographic example of when you would use the three different lenses you described?” Sure, here goes;
All these images were made at Old Car City in White GA. Let’s say you want to shoot the interior of an old rusted car and you want to take in as much as possible, the 16-35 set at 16mm is perfect as in the image below,
Next you may want to shoot an overall scene that requires a midrange zoom, slightly wide to slightly long lens, in this case the 24-120 at about 35mm,
Lastly imagine that you saw a very interest rust pattern on a fender but you could not approach close enough to make the tight shot you wanted, the 70-300 lens at around 200mm gets you the nice ctopped shot you wanted, You might have been able to make this shot with the 120 end of the 24 to 120 zoom, but this gives you a little more working distance,
Hope that helps!
This post has Comments Off on System building ideas……. comments. Click here to read them
This entry was posted on Tuesday, December 27th, 2011 at 5:29 pm
You can follow any responses to this entry through the RSS 2.0 feed.
At a recent shoot I decided to compare three cameras; a fully professional top of the line DSLR costing over $5,000., a mid range DSLE costing less than $1,400. and a high end compact point and shoot costing around $500. The light changed some during the shooting but I found the results fascinating! I thought it would be fun for you to carefully inspect them and try to matchup which is which, I will answer the quiz tomorrow!
Good luck!
THE ANSWER IS!!!
The top shot is a D7000 with 24-120 lens
The second shot down is the D3s with the same 24-120 lens
The bottom shot is a Nikon Coolpix P7100
The point is they were all shot with a tripod and cable release. Except for the light difference on the D3s shot, they are all very similar and you probably wouldn’t be able to tell the difference until a print of 24×36 or larger were made! Does this mean they are all equally good? On the web, at ISO 200 I would say pretty much. If they had been shot @ ISO 3200 and blown up to 40X60 you would have easily been able to separate them out. CONCLUSION: Used carefully, today’s camera are capable of amazing work! What’s best for you depends on how much you have to spend, how much you are willing the carry, and what you will be doing with your files!!!
This post has 4 comments. Click here to read them
This entry was posted on Tuesday, December 27th, 2011 at 12:06 am
You can follow any responses to this entry through the RSS 2.0 feed.


