Monthly Archives: August 2021
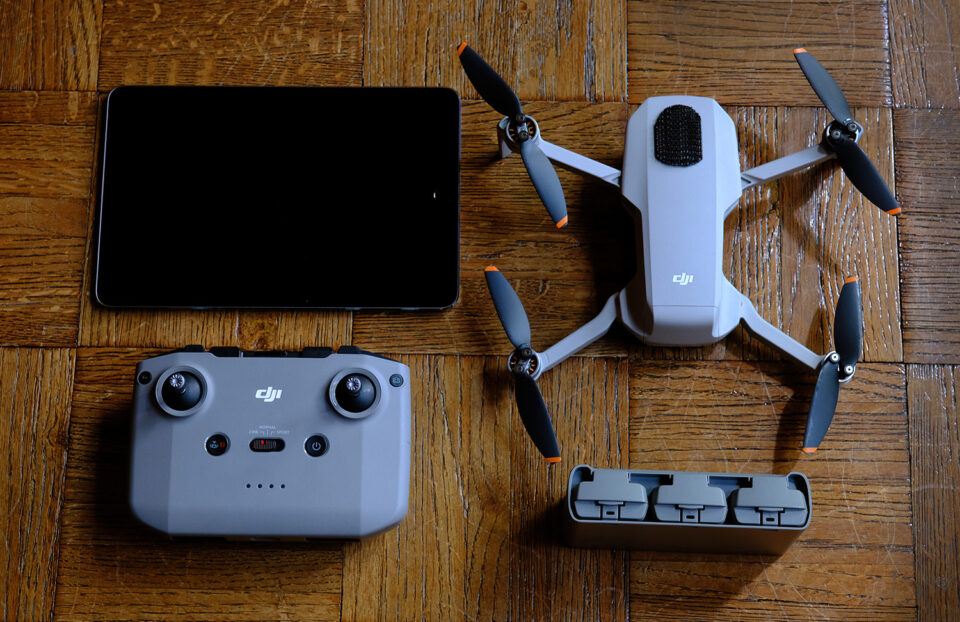
My dear friend Mike Early requested this blog post and since my wife Sherelene is busy Sunday afternoon working on charts, what the heck, let’s do it right now! Let’s start with the equipment to do drone photography. My system is very simple and one of the least expensive ones you can get and still be of great quality! Above is my DJI Mini II, a Apple mini iPad, the three battery pack and charger and the controller. That is my complete system. From Amazon you can get all of this except for the iPad in what is called the Fly More package for $599. The standard mini iPad will do fine, unless you plan to put a lot of images on it, I would get the lower storage option to save money, also WiFi only is all you need. A new Apple iPad Mini wifi with 64 gigabytes of memory runs $399. You can use your iPhone but the iPad is much easier to see clearly what you are doing, something pretty important when flying, I’m a pilot, trust me I know! That brings the outfit with iPad to around $1,100.
“What accessories do you need for flying the drone?” I woud highly recommend these two optional accessories both are really needed.


The Hoodman sunshade is needed to shield the screen of your iPad and the tablet clip allows you to attach the iPad Mini to the controller.
With is outfit you will have three extra batteries each allowing almost 30 minutes of flight time and the battery holder is also a charger which make charging all 3 at once easy.
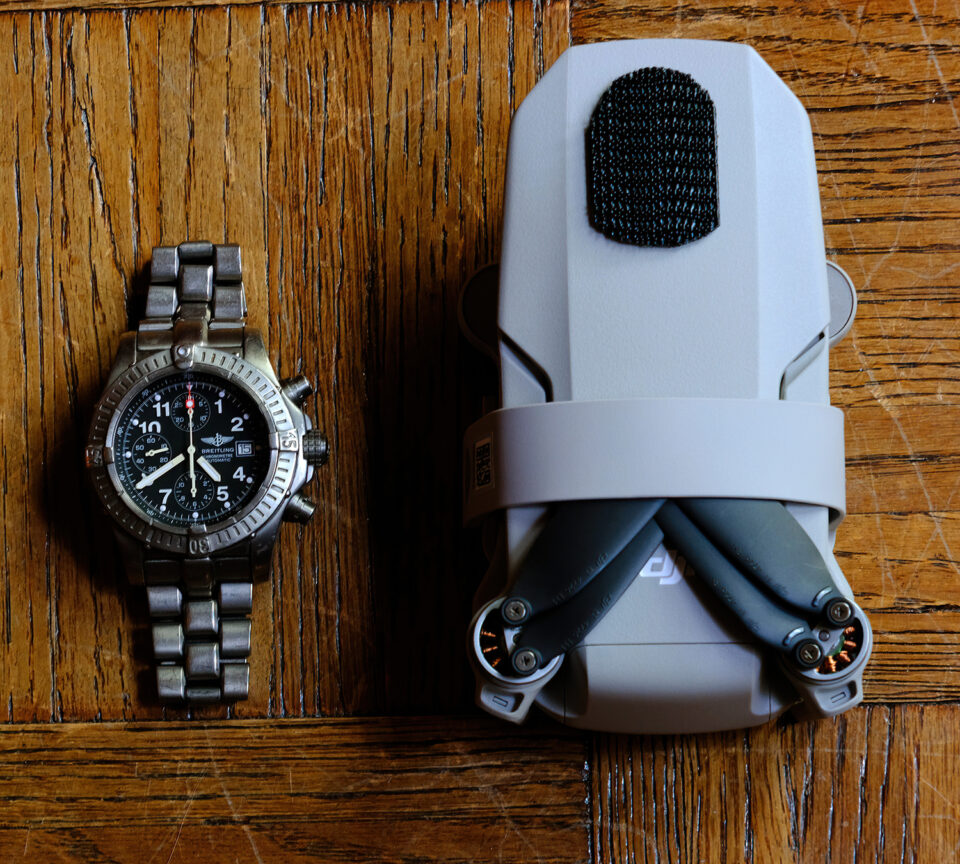
The drone itself folds up to a very small package and will fit easily in a lens spot in your bag. It comes with a propellor protecter which help protect the drone as well. I illustrate it’s size next to my watch. The fly more package imcludes spare propellors, charging cords and a charging brick.
This drone will shoot 4K and Hi Def video as well as a 12 mega pixel still image in either jpeg or RAW. The stabilized camera makes tack sharp images even in a brisk wind.
Here are few of my favorite shots with the drone:
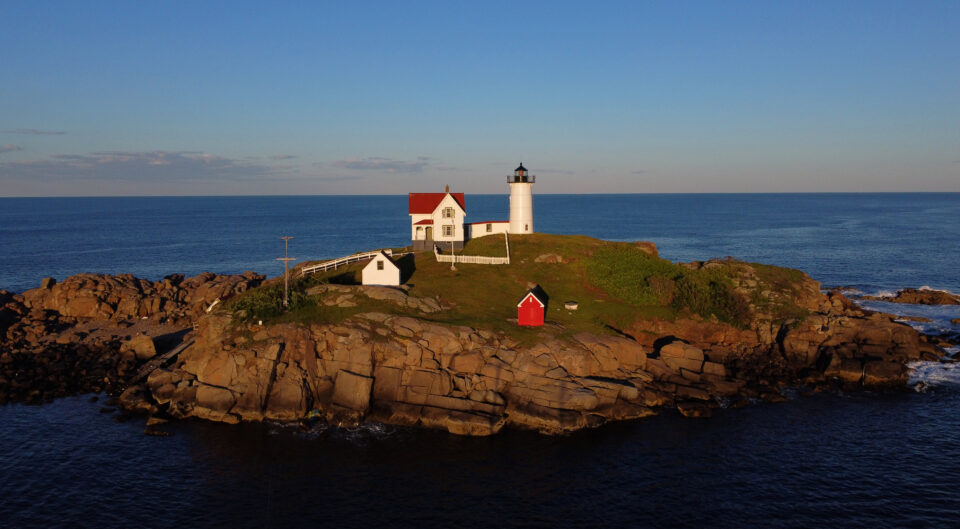
Nubble Lighthouse on the coast of Maine
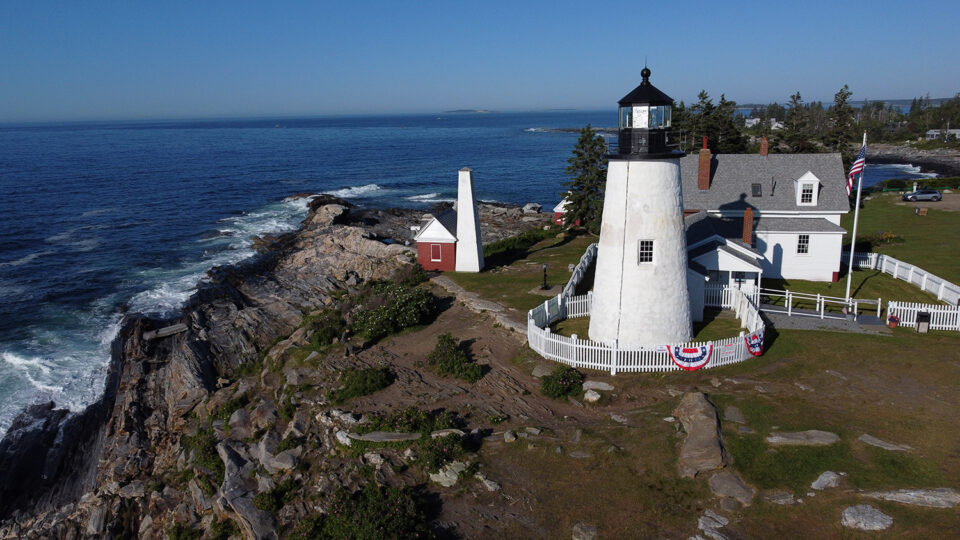
Pemaquid lighthouse, Maine coast
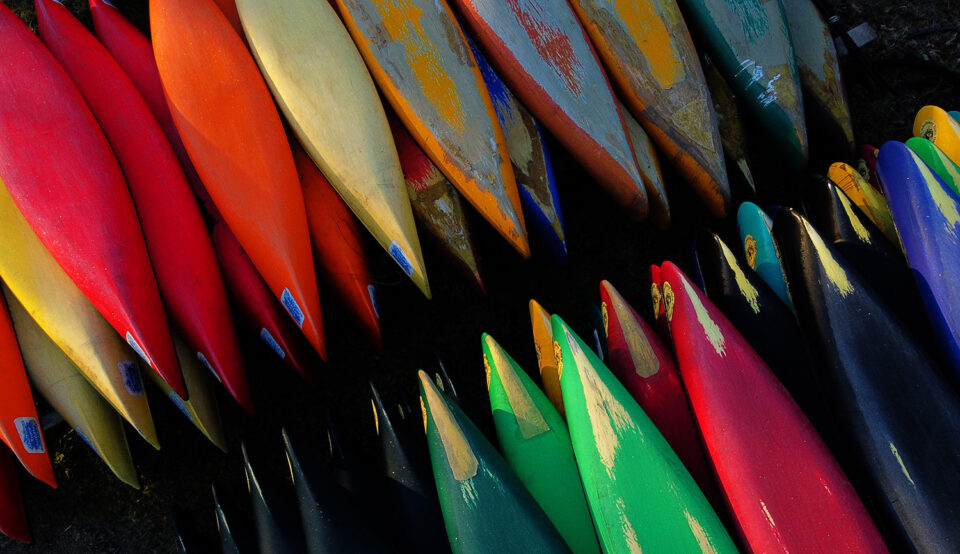
Stacked canoes
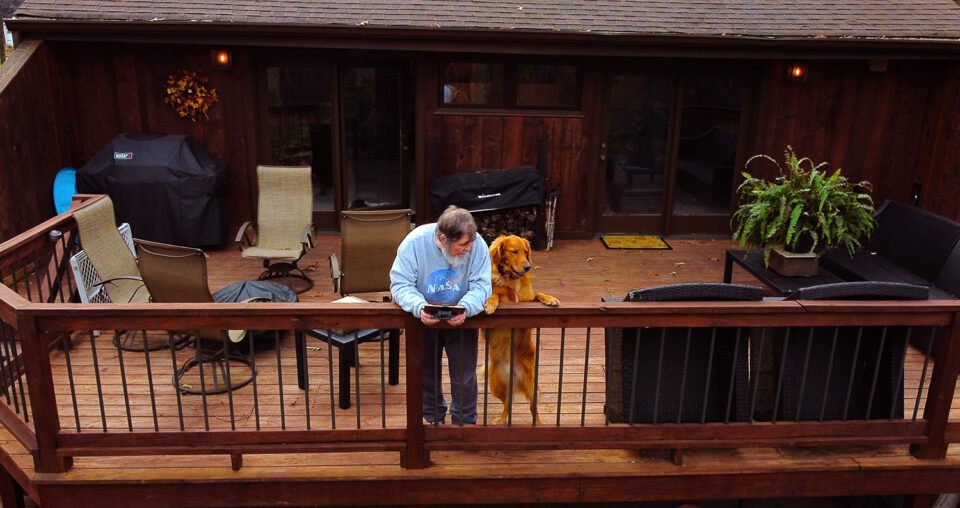
Chester watching me fly the drone!
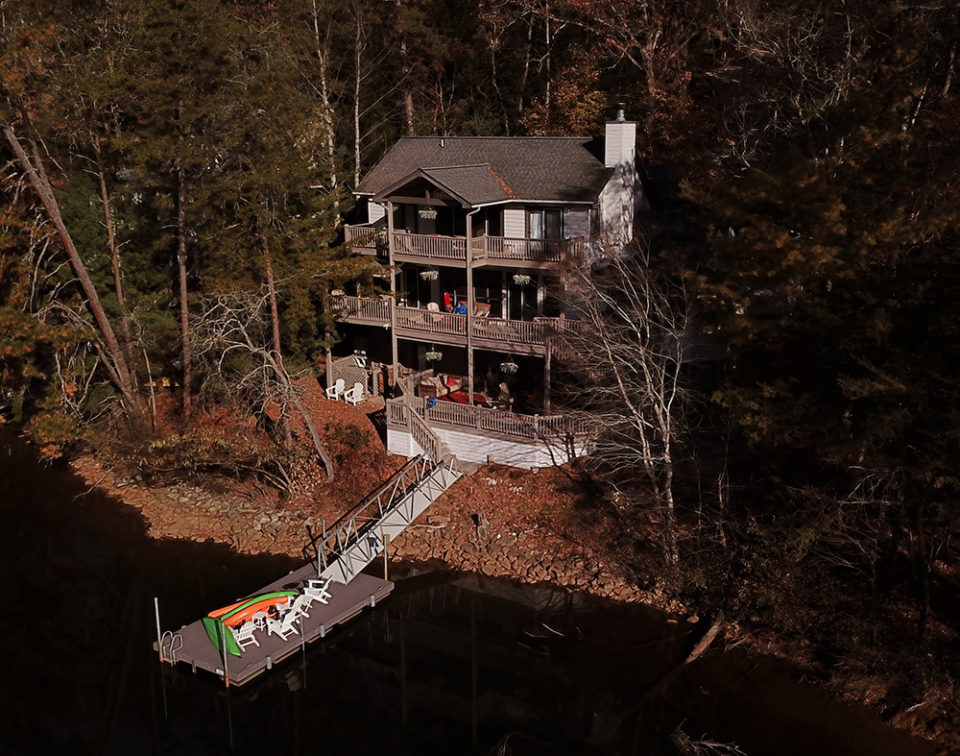
A friends lakehouse shot as a gift to him.
His next question was: “How long it takes to get proficient enough to not crash it!?”
This will depend on the individual but if you use good judgement and do a lot of practice in a large clear area you will get the hang of it pretty fast! This drone does not have sensors that will stop it if it is about to fly into something, but if you fly high enough above trees and other obstructions that should not be a problem. Always keep and eye on how much battery you have left and return to just above where you took off with plenty of battery to get back on the ground. You can point the camera all the way to the straight down position and that will allow you to clearly see where you are standing and then start bringing it down slowly until you can see where it is positioned then it is easy to bring it very close to you and then land it. Amazon sells Drone landing pads, folding circle in bright orange and that is a good idea to have, it is easy to see from even pretty far up with the down pointed camera.
These will help:

All of this minus the iPad will run you less than $700. You can spend much more, but I’ve found this to be more than enough for the work I want to do. I would highly recommend that you get the insurance plan from DJI when you buy the drone, it will replace your unit if you should crash or loose it within a year (for minimal cost), after a year you should be safe! I think it is still $79. for the first year.
Also watch as many Youtube videos as you can about how to fly this drone and the regulations about flying it and safety, they will help you to be a much better drone pilot and stay out of trouble with the FAA! Get the app for your phone called DRONE BUDDY, it will give you any resticted areas using gps and tell you the wind speeds and other important information. If it says you’re in a restricted airspace, don’t fly!!!!
The drone uses Micro SD cards, I recommend the card below, it is fast and has enough capacity should you want to shoot 4K video as well as stills, I keep three or four in my card wallet with and SD card adapter. Amazon again.

Your drone will down load your images to your iPhone or smart phone as you shoot as long as you have wifi turned on. In Apple devices the image will go into your photo library and will be available on your iPad and your other computers!! I assume the same is true with Android devices!?
When do I fly it for making photos? Anytime I’m in a legal spot, without to much wind (I don’t like winds much higher than 10 mph) and I think a view from above can be interesting, which is almost all the time!
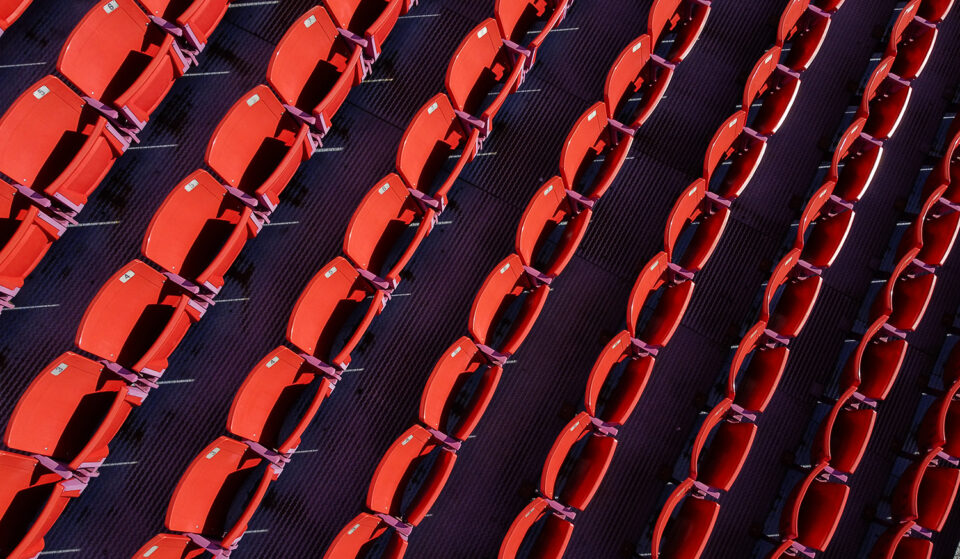
Football stadium chairs
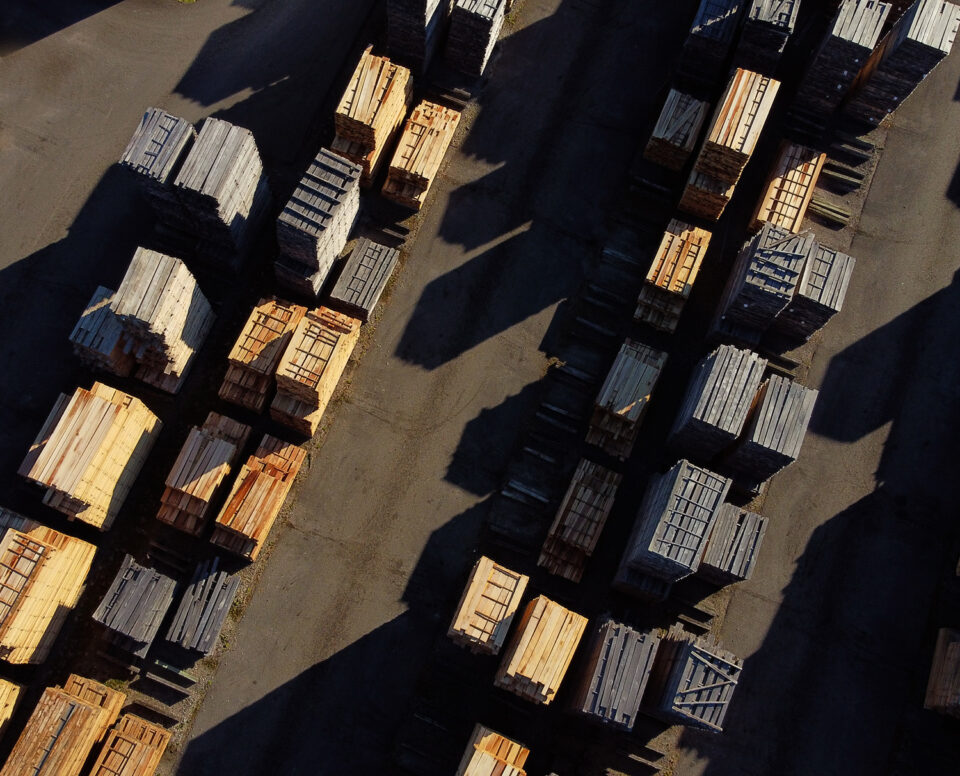
Stacks of wood in a lumber yard
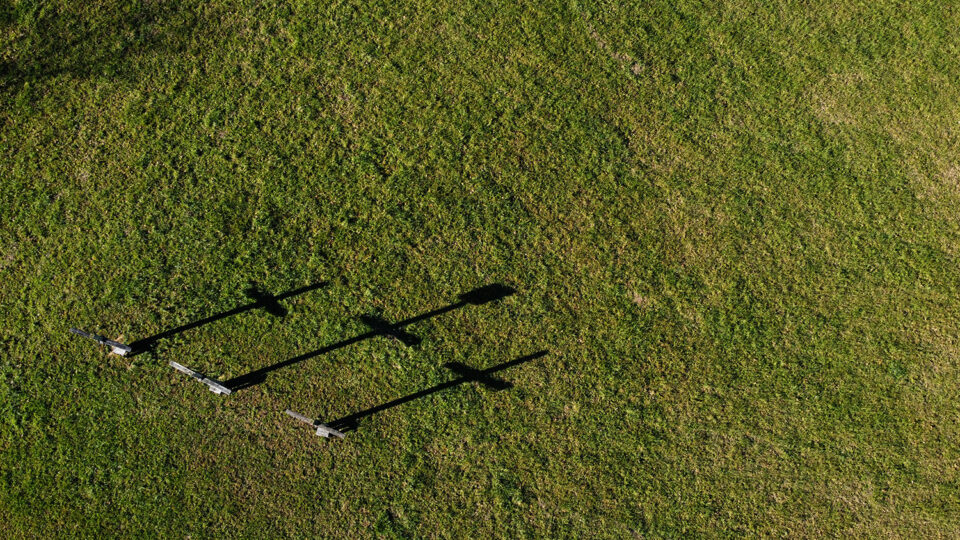
Shadow from three wooden crosses in a grassy field.
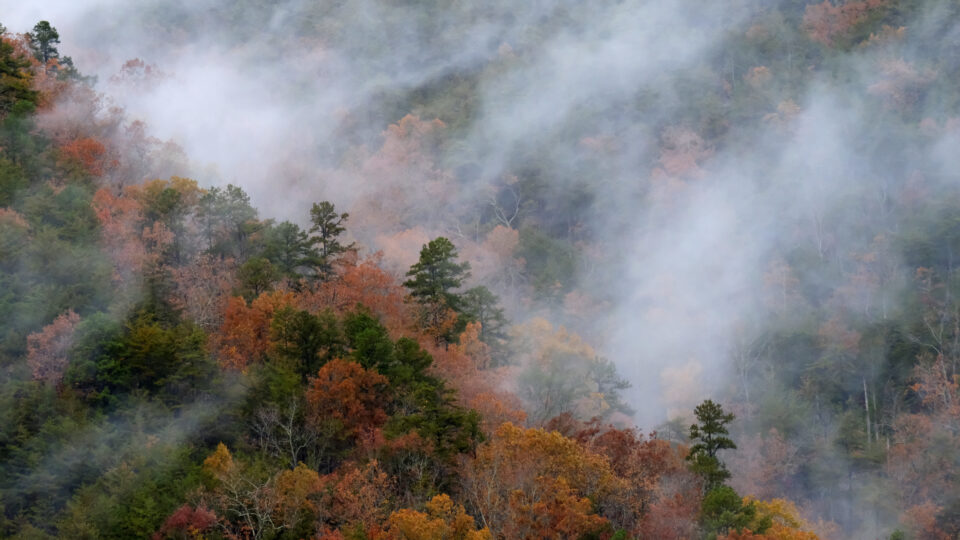
Mist “near the Great Smokies” Not in the Smokies, that’s illegal! In Townsend, TN
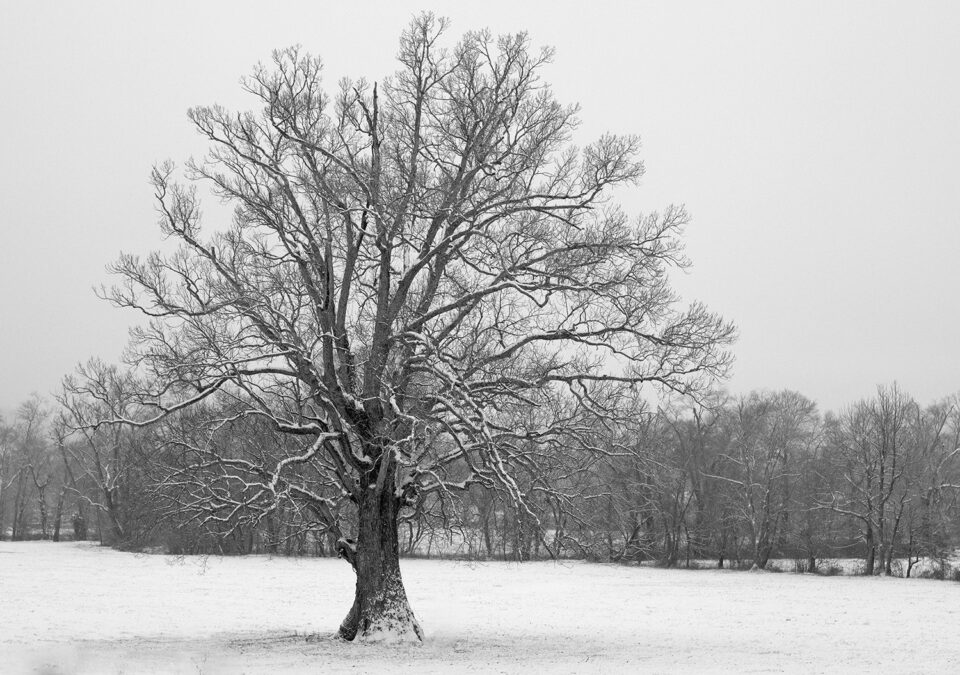
This tree was a special circumstance, I was out after a pretty snow and saw a tree way out in a field and wanted to shoot it but it was behind a fence and way out in the field. I did not have my longer telephoto lens with me and then it dawned on me I could fly out to it!!! I flew the drone out across the field and then adjusted my altitude to get the composition and background I wanted and then shot it! I converted the shot to monochrome in post and my feet were dry! I didn’t have to climb the fence and then walk onto private property and I got the shot!!!
“How do your process your images from the drone?” I process the still image the same as any image from my camera, the drone allows you to set white balance and has an exposure compensation dial so you can see in real time how your exposures will look.
“What am I looking to accomplish when you bring out the drone to work a site?”
The same as any photo I hope to make, something that will thrill me, and maybe others might enjoy!
*Note: You may have noticed that I did not talk about shooting video with the drone! I’m just now working on doing more video, but it is early in the game so I’m not a good source for that kind of information yet! If you want to see some amazing world class video done with a drone, check out Sam Kolder on Youtube:
Hope that covered all the bases, please feel free to ask more questions in the comments!
Blessings, and fly safe!
the pilgrim
This post has 14 comments. Click here to read them
This entry was posted on Sunday, August 15th, 2021 at 9:55 pm
You can follow any responses to this entry through the RSS 2.0 feed.
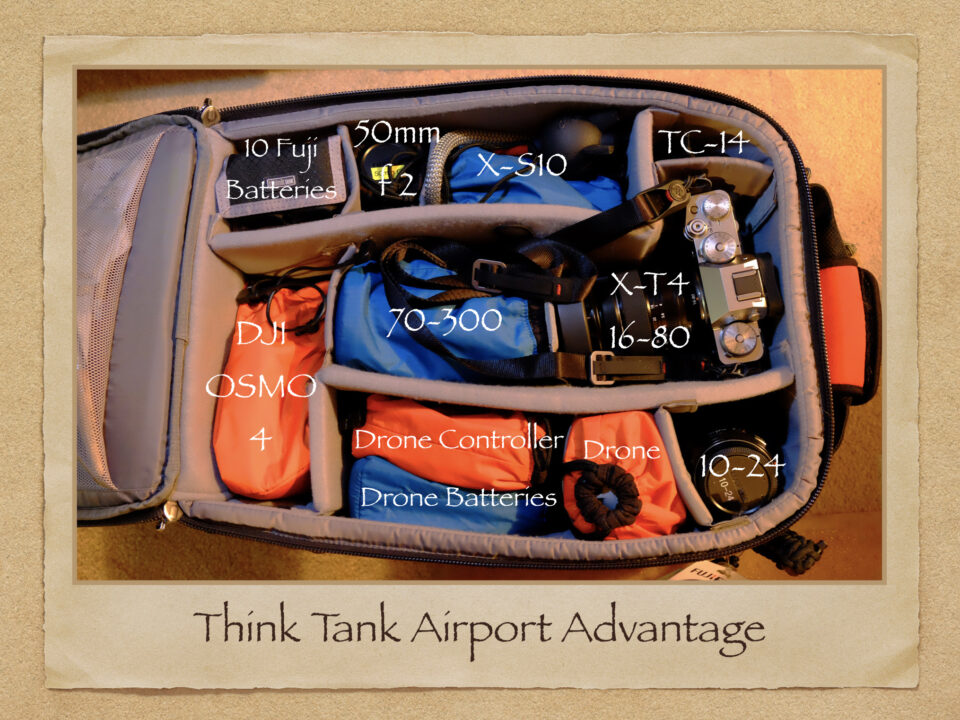
Jack Graham and I have been talking, this past week, about strategies for how to get our gear to the in to field. When we arrive on location how to manage carrying it! The problem is you pack everything you think you might possibly need on an extened trip, to a far way location and then when you get there it’s too much to carry in-the-field, everyday!!!!! I’m no longer in my forties!
We have both been doing something similar to this “current” possible solution but I thought I might share what has been working for me “for now” I say current and for now because, well, you know, I’m still a member in good standing of the “Bag of the Month Club”, a dues paying member!!!!
So the top picture is currently how I am getting it all to the location, the Think Tank Airport Advantage rolling bag. It is designed with mirrorless gear in mind, meaning the bag is not as deep as the other bags designed for full frame DSLRs. This is great roller, made very well of great materials and very thoughtfully designed for mirroless gear! This rolling bag is great for airports and having to shlep all your gear from gate to gate, oh joy! By-the-way I am drivng to all my events this fall and just came back from the Maine event in June and drove to and from Maine to it, I hate flying and have vowed to never fly again unless there is simply no other choice!
My current field kit includes a pair of camera bodies and just four lenses, three zooms and a fast potrait lens. With these lenses I can cover from 15mm to over 600mm with the inclusion of a very small Fujifilm 1.4 teleconverter! I also never travel without my DJI Mini II drone which requires a controller and spare batteries and a mini iPad to see what I’m photographing or doing a video of.
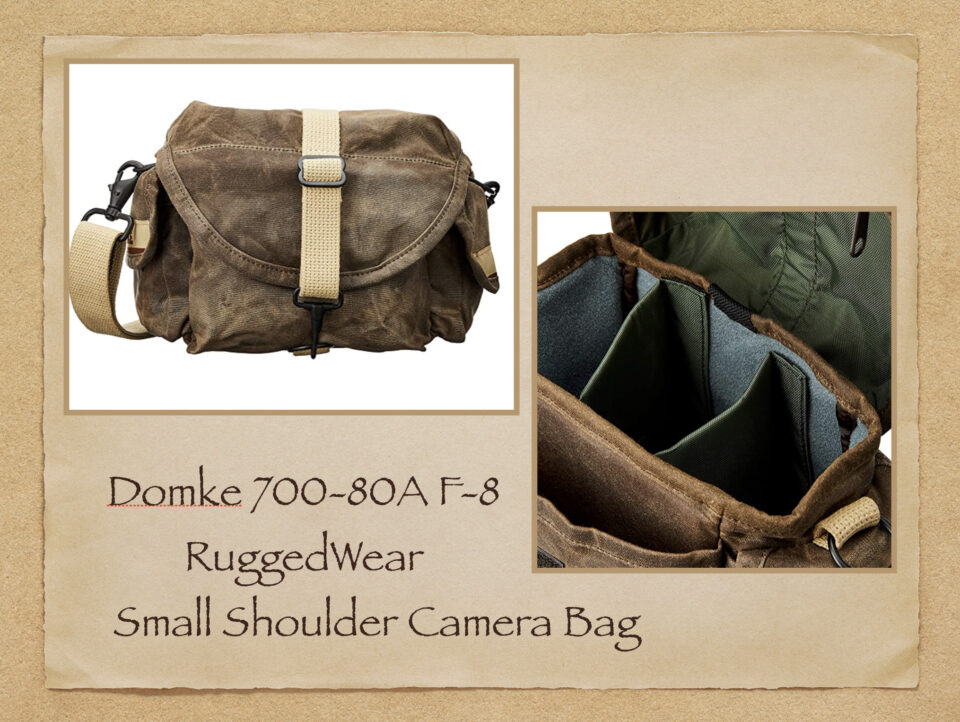
Once on location I move the 70-300 and 10-24 into a very small Domke bag for just walking around. I simply carry the X-T4 with the 16-80 on a strap around my neck! The drone and the rest of my gear is still safely in the rolling bag in the SUV, until needed.
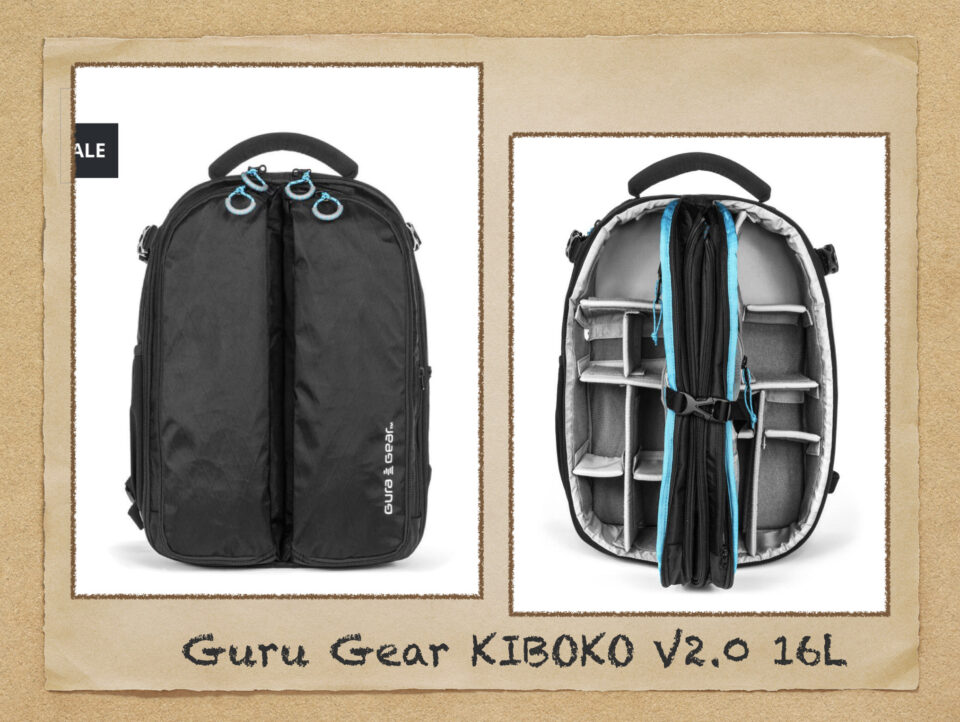
Because I haven’t bought a new camera bag in a month and Guru Gear is back in business making a bag that is designed for mirrorless, I ordered the new Kiboko V 2.0 16 L bag to see if I like it. The former Guru Gear bags were exceptionally well made and I loved them, but were designed for big DSLRs and my Fujifilm gear seemed to disappear in the deep equipment slots. The bag comes with a 30 day money back gurantee, so I will quickly see if it might serve as a car trip replacement for the Think Tank roller, we’ll see and I will report back to you on that!! I hope the build quality is as good as the former bags from Guru Gear! I’m figuring that it ill hold everything that is in the rolling bag, but……….. we will see! I tried to get a Mindshift Backlite 26L, but with the international shipping issues, they are getting hard to secure!
Stay tuned for more adventures from Jack and I!!!!
Blessings,
the pilgrim
This post has 10 comments. Click here to read them
This entry was posted on Saturday, August 14th, 2021 at 4:26 pm
You can follow any responses to this entry through the RSS 2.0 feed.


